3.1 Introduction
The functions and menus required for this CAD exercise have been previously set up. Any changes you make on the graphical user interface (GUI) are reset the next time you log into windows. Further details about how you can customize NX GUI permanently for your demands are listed in chapter 3.4 "Roles".
 . (
figure "start screen NX")
. (
figure "start screen NX")
| Hint: | You can access online help on NX by pressing F1 in NX. |
Creating a new item with NX
This section presents the creation of a part in NX. In order to do that, please open NX on your computer.
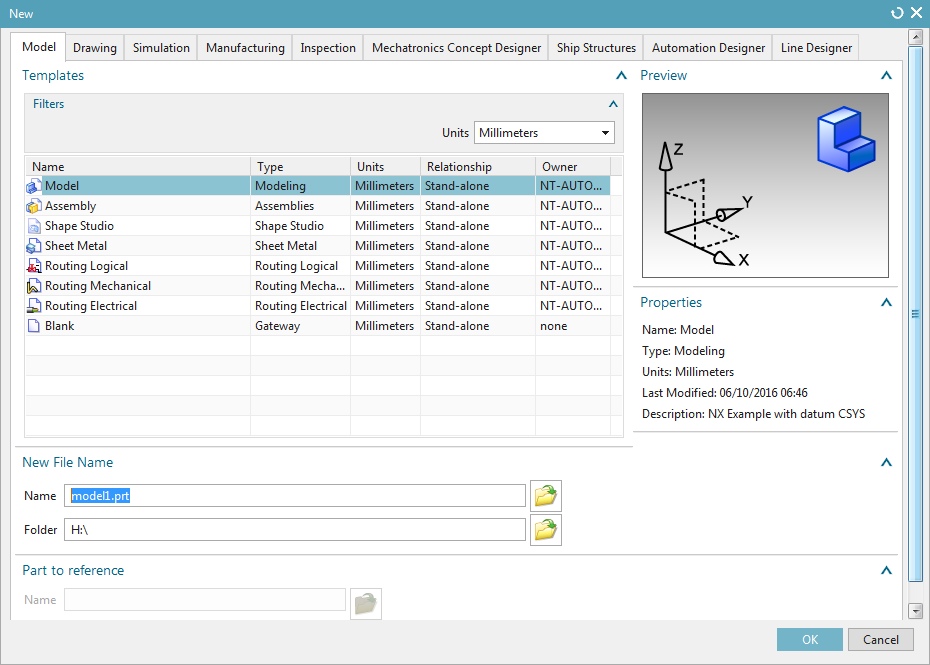
Press in NX on File -> New
 . The following menu opens: (figure "New"). For this example choose the tab Model above.
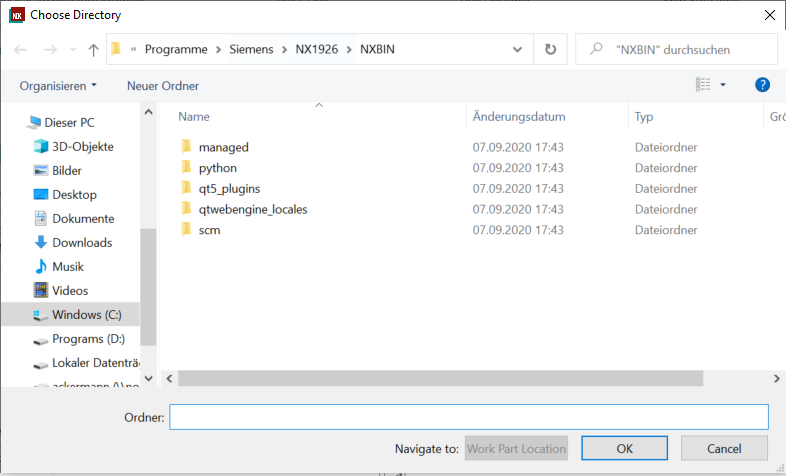
Now you have to choose the folder, in which you want to create the item. To do that, press the button  next to Folder.
. The following window opens: Choose Directory. In this window, all of your folders are viewed. Choose the folder in which you want to create your item. Accept the whole procedure with OK. (figure "Choose Directory")
next to Folder.
. The following window opens: Choose Directory. In this window, all of your folders are viewed. Choose the folder in which you want to create your item. Accept the whole procedure with OK. (figure "Choose Directory")
In the Templates window, under the tab Model you can choose between different kinds of files or items:
- Model: This creates a single part within NX. This function must be selected every time the tutorial says: "Create a new part in NX".
- Assembly: This creates an assembly. This function has to be selected every time the tutorial says: "Create a new assembly".
If you want to create a drawing derived form a model, choose the tab Drawing. In the Templates window under the tab Drawing you can select different templates, for example:
- - PLCM: This creates a drawing with a parts list in Din A4 format.
- A3 - PLCM: This creates a drawing with a parts list in Din A3 format.
- A3 - PLCM - Stueckliste: This creates an explosion view of a drawing with its according parts list.
We choose Model, because we want to create a single part.
Name your part bauteil by writing it in the field Name (Choose by double-clicking). Be aware of the naming convention. (ref section 1.3 "Naming convention")
In order to create the part click on OK.
| Attention: |
|
Dialog basics
Many functions in NX are based on dialogs, which always have the same structure. In this section, a few basic functions of dialogs will be shown using the dialog Extrude.
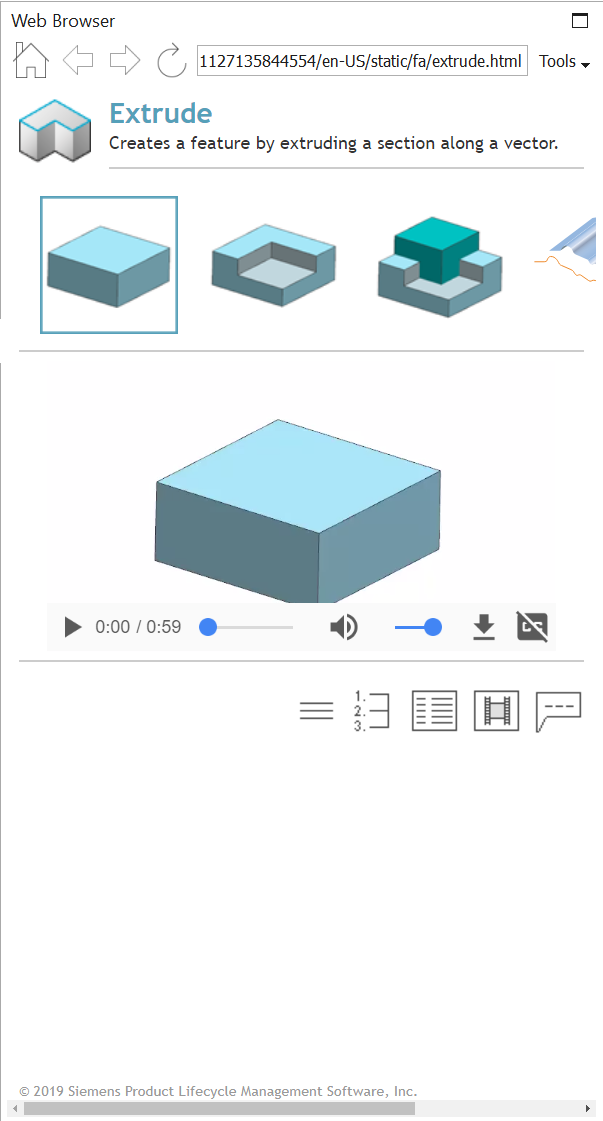
Every dialog has the opportunity to reload it, using the reset button ![]() . Using this, mistakes can be undone without reopening the dialog. Using the function help
. Using this, mistakes can be undone without reopening the dialog. Using the function help ![]() , an introduction video to the according topic can be shown in the NX-intern browser (figure "NX Browser"). While selecting instances in the main window by a dialog, with pressing Shift and clicking on the same instance, the instance is unselected again.
, an introduction video to the according topic can be shown in the NX-intern browser (figure "NX Browser"). While selecting instances in the main window by a dialog, with pressing Shift and clicking on the same instance, the instance is unselected again.
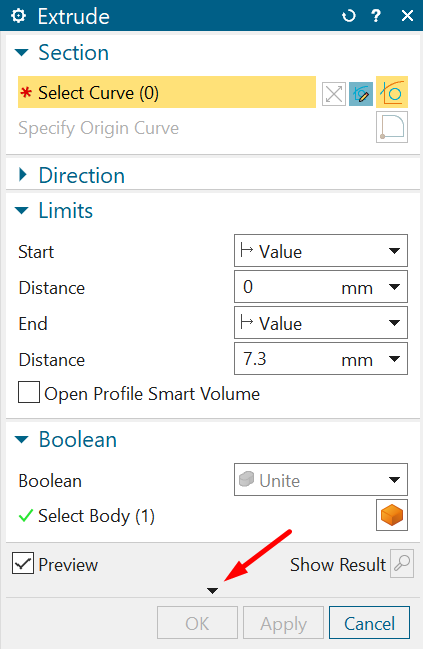
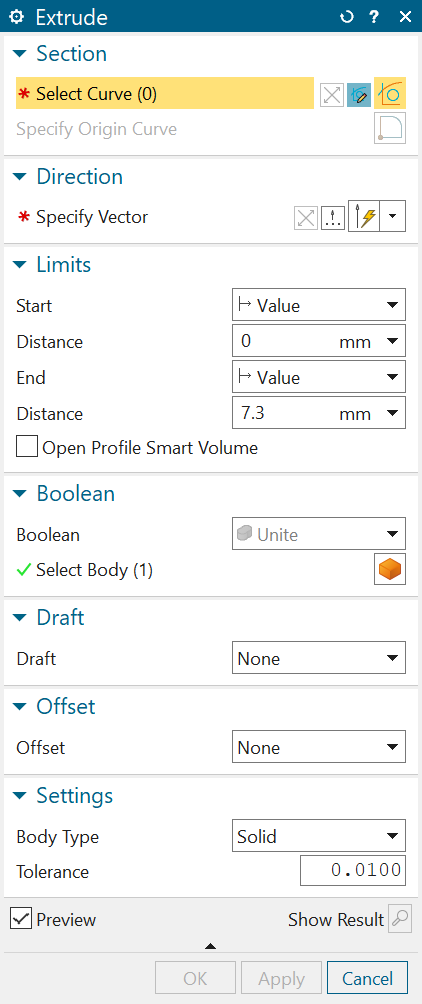
Further on, many dialogs have some advanced settings hidden in itself. By clicking on the small arrow (figure "Advanced settings hidden"), these settings can be shown (figure "Advanced settings shown").